Creating and managing staff accounts
NAVIGATION Left navigation menu > Settings ![]() > Team
> Team
This article describes how to add users to Kaseya Quote Manager, reset user passwords, deactivate users who are no longer part of your organization, and reactivate users.
For an overview of user roles and permissions in Kaseya Quote Manager, refer to Team.
How to...
Connecting Kaseya IT Complete to your Kaseya Quote Manager platform allows users to access the Kaseya Quote Manager module from the KaseyaOne portal, view Cooper Intelligence Engine insights for Kaseya Quote Manager in the KaseyaOne portal, and log in to Kaseya Quote Manager through Kaseya Unified Login (Log In with KaseyaOne). For more details and instructions, refer to KaseyaOne integration.
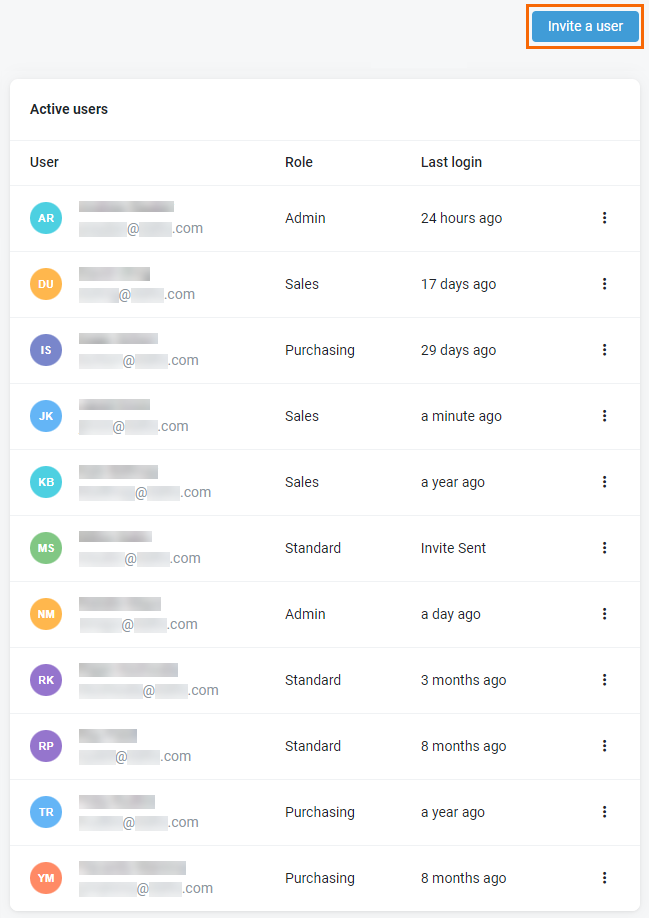
To add a user to your Kaseya Quote Manager team, they must accept your invitation. Complete the following steps to configure a staff user's permissions and invite them to the platform:
- From the left navigation menu, click Settings
 > Team > Invite a user.
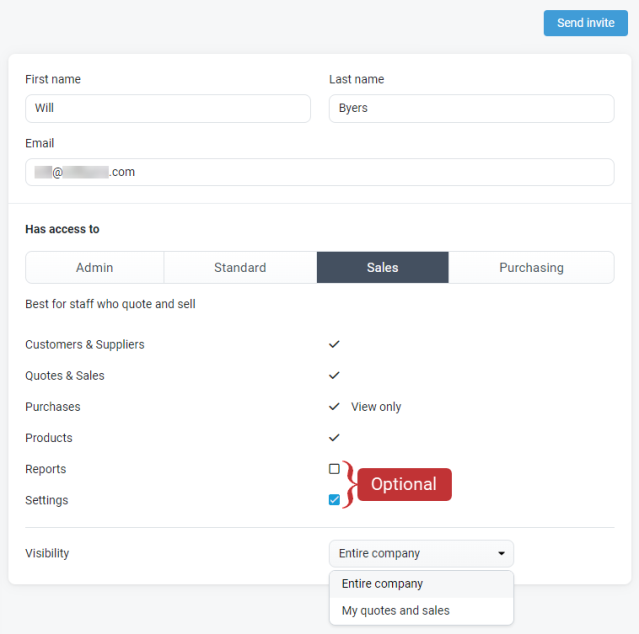
- Enter the user's First Name and Last Name.
- Enter the user's Email address. Kaseya Quote Manager will send an activation link to the mailbox you provide.
- Select the desired role from the Has access to section. For an overview of the four user role types, refer to User roles and permissions.
- For all types other than Admin, select the check boxes of any optional permissions you wish to grant this user. In addition, select their Visibility access level from the drop-down menu.
- Toggle the Require Datto Portal SSO option to require the user to login using the Datto Partner Portal.

- Click Send invite to send a link to the team member to create a password.
NOTE If you create an organization contact with the same email address you used to create a team member, the organization contact will have admin access. Refer to Contact in Creating and managing organization accounts.
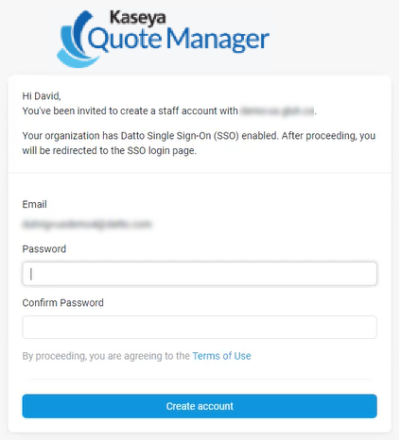
IMPORTANT This link is active for one week. If the invitation appears to be missing, ask the user to check their spam folder.
- Once the user clicks the activation link in their invitation email, they will receive a prompt to create a password for their user account.
- If your organization has single sign-on (SSO) enabled, the user will also need to configure two-factor authentication (2FA).
- After they have done so, they will be redirected to the login page for your Kaseya Quote Manager platform.
An activated user has the ability to log in to Kaseya Quote Manager using Kaseya IT Complete Unified Login credentials. IT Complete must first be enabled for the Kaseya Quote Manager platform in which the user account exists. For details, refer to KaseyaOne Integration.
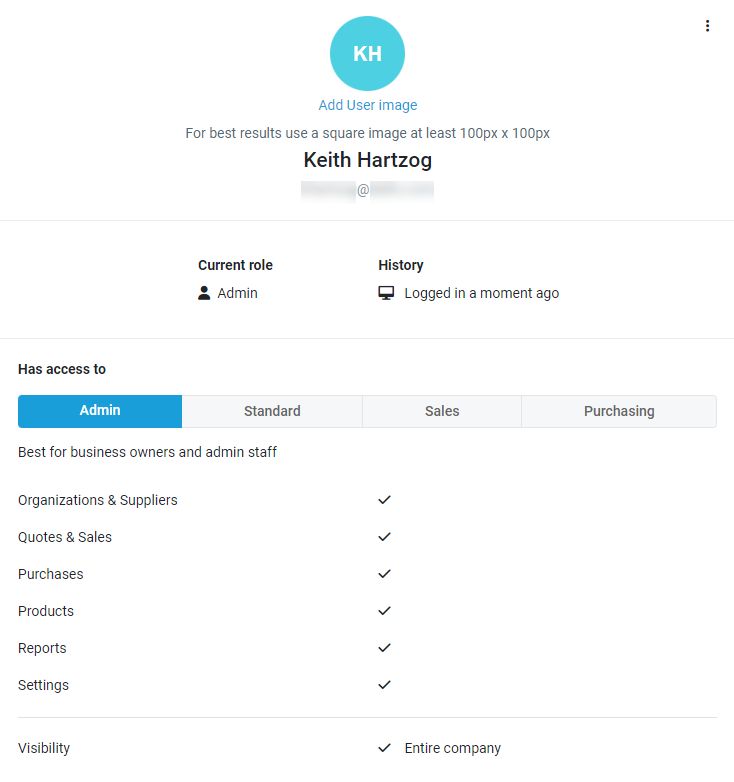
Once a team member has activated their account, admin users have the option of uploading an image to the user's profile. The uploaded image will appear in the top right corner of Kaseya Quote Manager. It also appears on the Quotes and Sales landing pages where the user is listed as an owner.
-
From the left navigation menu, click Settings
 > Team.
 -
Locate and select the user's account.
-
Click Add User Image.
-
In the file browser window that appears, select an image file and click Open.
NOTE For the best results, choose a square image that is at least 100x100 pixels.
-
Click Save.
-
From the left navigation menu, click Settings
 > Team.
 -
Locate and select the user's account.
-
Click Remove Image.
-
Click Save.
You cannot directly reset another user's password. However, your team members can perform the following steps to reset their own passwords:
- From your platform's login page, enter your username and click Next.
- At the Password prompt, click the Forgot password link.
- Kaseya Quote Manager will send a password reset email to the email address associated with your user account. Click the Reset password link in the message.
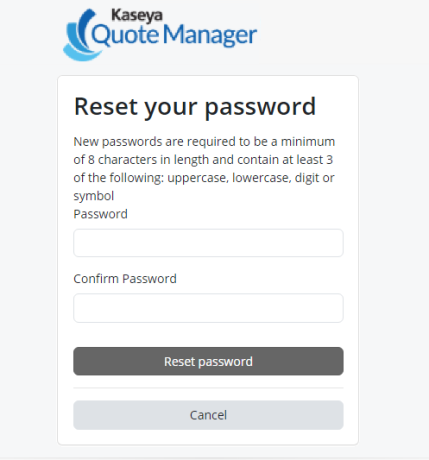
- You will be taken to the password reset screen for your Online Store. Create a new password. Then, click Reset password.
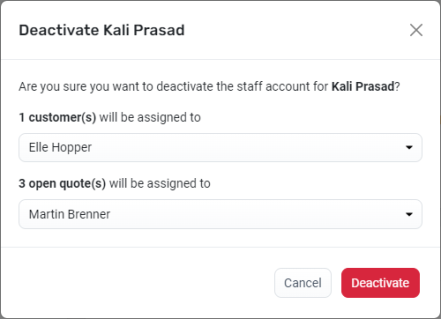
NOTE When you deactivate a user, you will have the option to move associated organizations and open quotes to a different user.
- From the left navigation menu, click Settings
 > Team.
 - Locate the user's account.
- Click the More icon
 for that user.
 - Click Deactivate.
- Select the users to whom you would like to reassign any organizations and open quotes.
- Click Deactivate.

The staff member will no longer have access to the Admin Center.
Deactivate an organization contact
The team member might still have access to an organization account. Check for and deactivate the access as follows:
- From the left navigation menu, click Online Store
 .
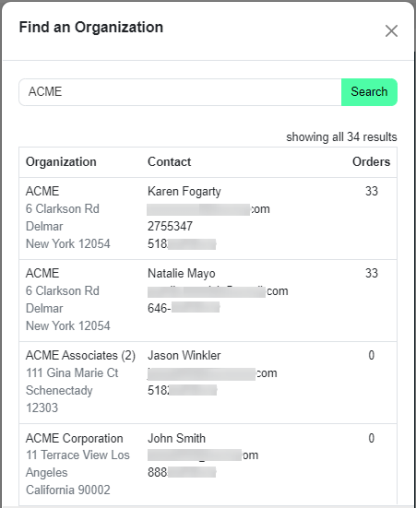
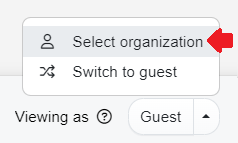
. - In the lower-right corner of your Online Store, click Select organization.
- Search for the user's name or email address in the Find an Organization window. Matching accounts will appear in the Organization list.
- Now, locate the organization account in the Admin Center. From the left navigation menu, click Organizations
 .
. - Search for the organization and click their Organization # to open their detail page.
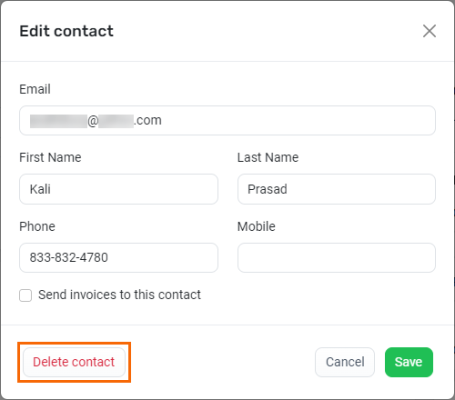
- In the Contacts section, click Edit contact.
- Click Delete contact.

To reactivate a deactivated account, complete the following steps:
- From the left navigation menu, click Settings
 > Team.
 - Locate the user's account.
- Click the More icon
 for that user.
 - Click Reactivate.

NOTE Previous transactions that were assigned to another user while this user was deactivated will not be reassigned.


