Managing footer links
NAVIGATION Left navigation menu > Settings ![]() > Links
> Links
SECURITY Standard, Sales, and Purchasing roles cannot have the settings check box selected - only admin users can access settings.
Customize the links that appear in your Online Store footer, which you can use to draw your customers' attention to certain resources.
You can freely add or remove footer links, specify their names, and control the order in which they appear.
The following table outlines pre-set pages available to link in your footer:
| Page | Description |
|---|---|
| Home page |
Your Online Store home page. NOTE It is not necessary to link your home page in the footer. Your business logo, which is displayed in the header, is set to link to your home page. To learn how to upload your header logo, refer to Logos in Customizing your theme and product range. |
| Contact page |
This page includes your customer service phone number, business location, and an in-page form through which customers can send you an email. To learn how to configure these contact details in your Admin Center, refer to Adding company details. |
|
Brands |
This page alphabetically lists all your automatically managed and manually added brands within your Online Store. Refer to Managing brands. |
How to...
- From the left navigation menu, click Settings
 > Links > Add link.
 - Enter the Name you want to display in the footer for the link.
- From the Link drop-down menu, select the page you want to link to.
- Click Save and the link will appear in your Online Store footer.
Linking to a landing page
To link to a custom web page you created in Kaseya Quote Manager, select the Page option from the Link drop-down menu. From the second drop-down menu that appears, select the landing page you want to link to.
To learn how to build custom web pages in Kaseya Quote Manager, refer to Creating landing pages.

Linking to a specific URL
To link to any existing web page, select the Web address option from the Link drop-down menu. In the text box that appears, enter the web page URL.

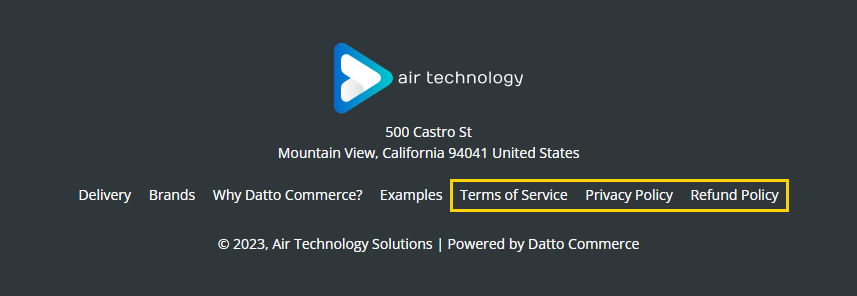
Linking to Terms of Service, Privacy Policy, and Refund Policy
To create these three policies for your Online Store, refer to Displaying your legal policies in Choosing sales settings. Once you have done so, the links to your policies are automatically displayed in your Online Store footer.

- From the left navigation menu, click Settings
 > Links.
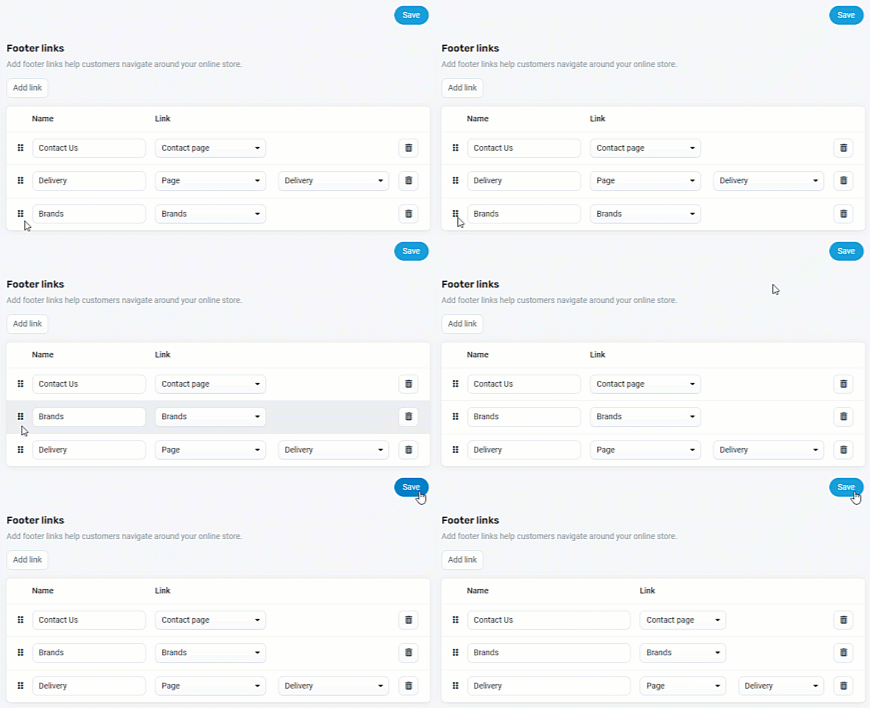
 - Click and drag the Sorter icon
 for any link to adjust its placement relative to the other links in the Online Store footer.
 - Click Save to confirm the change.

- From the left navigation menu, click Settings
 > Links.
 - Click the Trash icon
 for any link to remove it from the Online Store footer.
 - Click Save to confirm the change.


